Powered By Blogger
Showing posts with label Cricut. Show all posts

Monday, August 15, 2011

FCCB challenge 73 - one smart cookie

Confession 1: I'm a Cricut newbie. Please be gentle!! I'm still trying to figure out all of the layers... I love this little gingerbread guy, and I thought I'd cut him out quick while my five year old was engrossed in a project.

A) her attention span is too short and B) I messed up but just went with it anyway.

Confession 2: I am a fudger. Yes, I am not a perfectionist crafter. I try to make my mistakes work for me rather than throwing them out. Sometimes this doesn't work in my favor...


So, end result:

Entered in the fccb challenge: piece of cake.


Card recipe:
Just because cards cartridge
Papers: DCWV, random scraps
Maraschino twine from the Twinery, EK Success Edge punch

Thanks for letting me play along!

Jen

Wednesday, March 23, 2011

OWH MWT, or *coughcoughcoughBIRTHDAYcoughcoughcough*

We are having a snow day here in central Wisconsin, which is good. I guess. This is the noise in my house at any given moment: *coughhackcoughcoughwaaaaaaaI'mboredIdon'tfeelgoodcoughcoughcough* And we have snow and freezing rain enough to last for next winter... yes, I woke up to sleet against the windows yesterday at 4 am. It snowed. And rained. And snowed, and rained some more, and it's still going. I took the eldest to the grocery store with me a bit ago as we were nearly out of food and we were the well-est enough to go, and now we're all wiped. But we have food!

Oh yeah, and it's my birthday! Happy birthday to me. 32 and a house full of sickies, BUT I do have a new toy!

It's mid-week throwdown time over at the Stars & Stamps blog today. The challenge is to make cards for kids. I like making kids cards, but lately I've been trying to find cards that would appeal more to the older kids - like 'tweens and teens. Its' a challenge, because you don't want to make it too juvenile, but still keep it kid-like. Here's what I have:


For the record, this was one of my first attempts at flocking. Must flock some more animals for practice! I tried using a glue pen, but it seemed to not give great coverage. I think I'll try a different adhesive next time.

Card recipe:
Stampendous fun flock in white
Papers: SU solids, K&Company DP
Lace scallop punch: Martha Stewart
Cuttlebug swiss dots embossing folder

Stamp set: Unity's Love Ewe
Random ribbon snippet, pop dots dimensionals

And now for the FUN stuff: my new toy!!!


Peppermint Cricut! I love it! This was my first time ordering from Oh My Crafts and I couldn't recommend them enough - though it was delayed in shipping, the customer service was excellent! It came with FOUR cartridges and I ordered three more. With all the sickies, I've not had much time to play, but I can't wait until we're all feeling better so I can use it.

Thanks for looking! Head over to the blog and play along, and don't forget - my blog candy drawing goes all the way until the end of March, so scroll down and enter to win those pretty flourishes!

Jen

Wednesday, March 16, 2011

Cuttlebug dust cover tutorial

I am getting a new Cricut for my birthday (whee! so excited - it will be here on Friday!) and as I was searching for tips, I saw that several people had sewn dust covers. I recently purchased a Cuttlebug, and I thought, "hey, I should sew covers for both." I found a free pattern for the Cricut (available here), but I couldn't find anything for a Cuttlebug. I decided immediately to forgo my naptime plans of reading a book and enjoying a diet Coke and instead created a pattern to make a cover for my Bug!


Cute, huh? Yes, it really is the Bug under there! :)

And then I realized that all you other Bug owners might want one, too, so I created this tutorial. I hope you enjoy it! 

Supplies:
13x34 piece of fabric (washed and dried for shrinkage)
sewing scissors
pins or tape
thread and a sewing machine
elastic (optional, I'd choose 1/16" or 1/8")

From your main piece of fabric, cut a 12x19 main piece. Be sure to allow an extra 1/4" seam allowance on all sides. Download the end piece here. Cut it out and pin/tape onto the remaining fabric (you do not need to allow an extra seam allowance on the end pieces). You need TWO of those pieces, so lay them out before you cut.

Lay out your main body piece (12x19 plus seam allowances) right side up. Lay down one of the end pieces onto the main piece, right sides together. About .5"-.75" of the end piece side will hang over the side of the main piece. Pin or tape your pieces together. Do the same on the other side, being sure to leave that overlap.


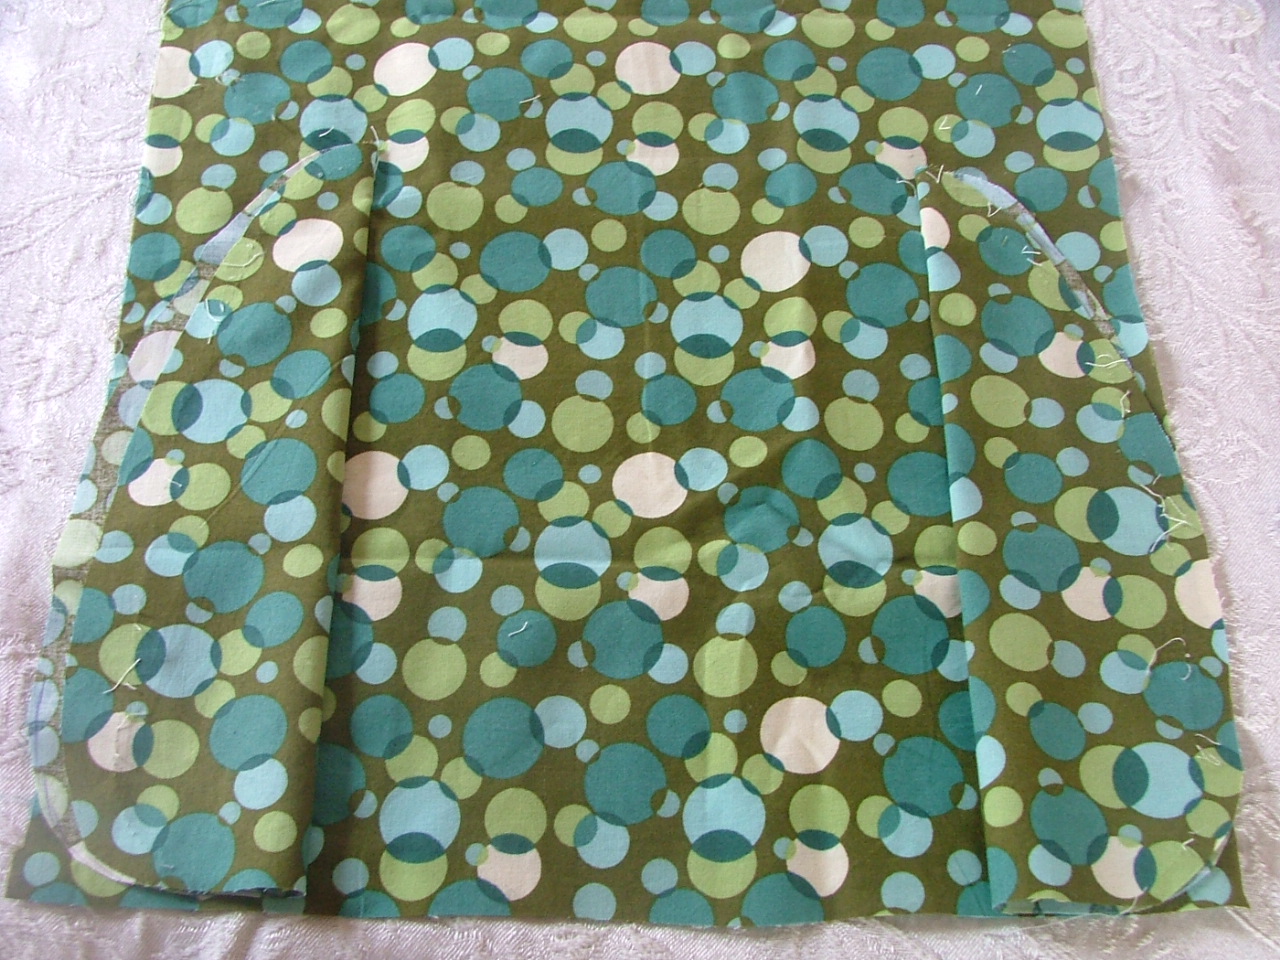
Fold your end pieces in half - take the edge that is not pinned and fold it toward the pinned edge. Fold down the top of your main piece and keeping the right sides together, pin the other half of your end pieces to the main body.


This gets a little tricky. It helps to trim the excess fabric curve in the middle (at the top of your end pieces) once you've folded the main piece over. When you're done, you'll have your cover shaped and it should be entirely inside out.  


Now stitch your pieces together and remove the pins/tape, then turn it right side out. Try it on your Bug and see how it fits!

Finishing the bottom seam is your last step. You must decide if you want elastic on the bottom. I did not, but if you chose to add it, it's easy - make sure you make your seam casing large enough for your elastic width. Put a pin in the end of your elastic, feed it into your casing, and pull it through the end. Then stitch it closed! 

Ta-da! Covered Bug!

Custom covers are available for a reasonable cost! Email for details - jmueller409ATyahooDOTCom.


You are welcome to share this tutorial far and wide. As always, please give credit where credit is due. This is for your personal use only.

Jen